We’re big fans of the Pompadour over at Slikhaar. It just looks good on men of all ages, faces and hair types. But what are your options? We’re going to go through the A’s to the Z’s of Pompadours: different types, tools and products that you need for that perfect Pompadour style.
What Is the Pompadour?
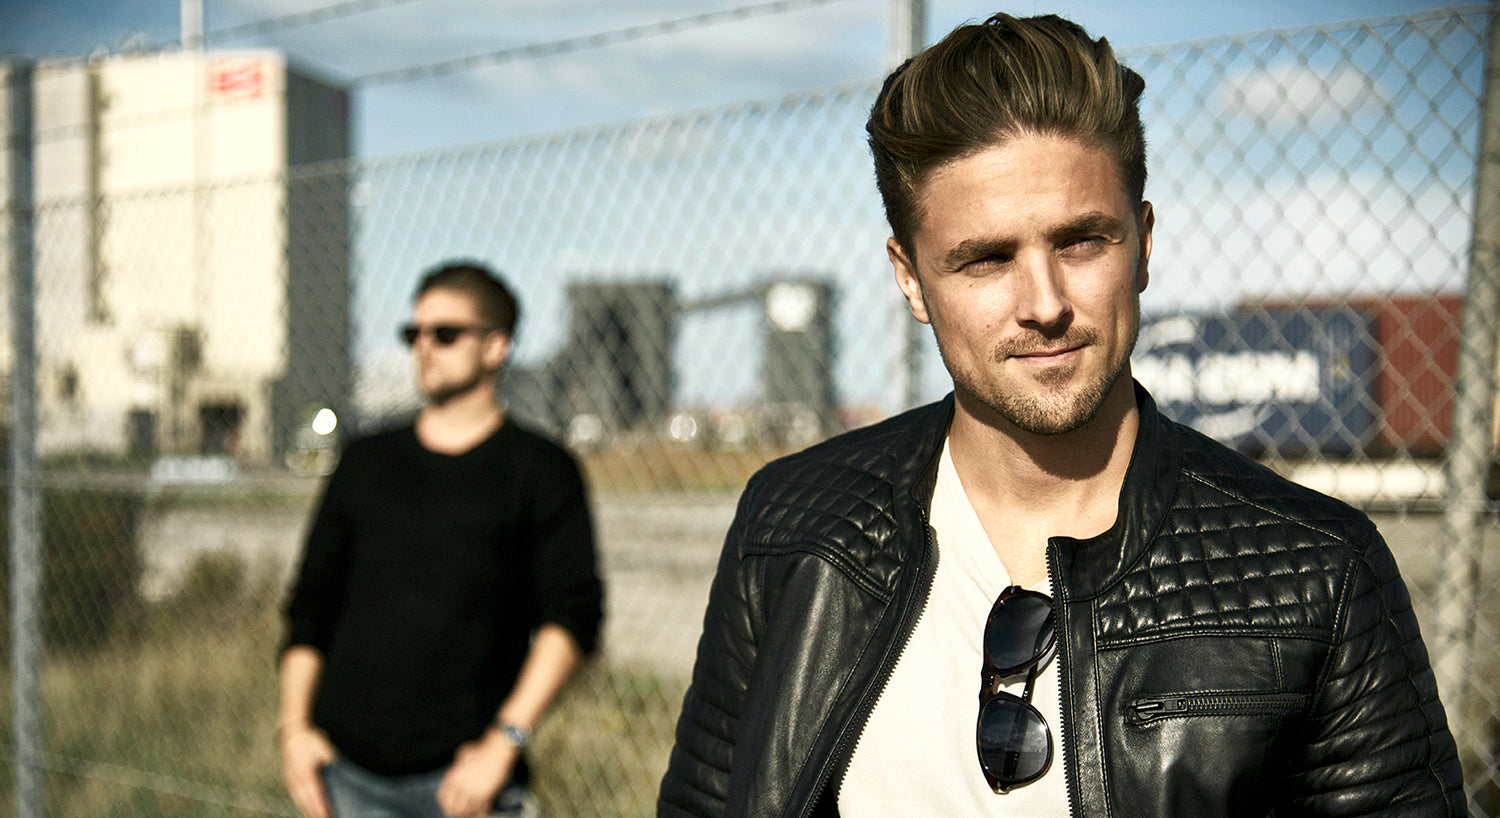
Simply put, the pompadour is BIG hair, swept backwards over the head. Short at the back and sides, with the hair a bit longer on top (some people will say that it’s a lot like a quiff with loads of volume). Trust us, it’s not as complicated as it sounds!
Because this style can be cut in so many ways, the pompadour can look great on you: whether you’re a businessman, teenager or world-famous fashion icon. Did we mention we love this hairstyle?
Did you know…
Contrary to what you might think, the Pompadour used to be rocked by women before being adopted by the King of rock-and-roll himself: Elvis Presley. The great man proved that this high-flying hairdo wasn’t just for the ladies.
Sure, the 1970’s weren’t a great decade for the pompadour (just like any high-maintenance men’s hairstyle). But it made one heck of a comeback in the 80’s. Today, it remains without a doubt one of the best hairstyles for the discerning gent.
Is the Pompadour The Right Choice for Me?
Ready to give the Pompadour a shot? We get it, it’s a favourite of ours!
If you’re just about ready to head down to your barber, here’s a couple of things to keep in mind:
- The pompadour works best with fine, straight hair.
- KEY – the pompadour is longer on the top, and however long/short you want on the sides.
- To bring your style up a notch, the pompadour works great with a well-groomed beard.
The 3 Most Popular Pompadours
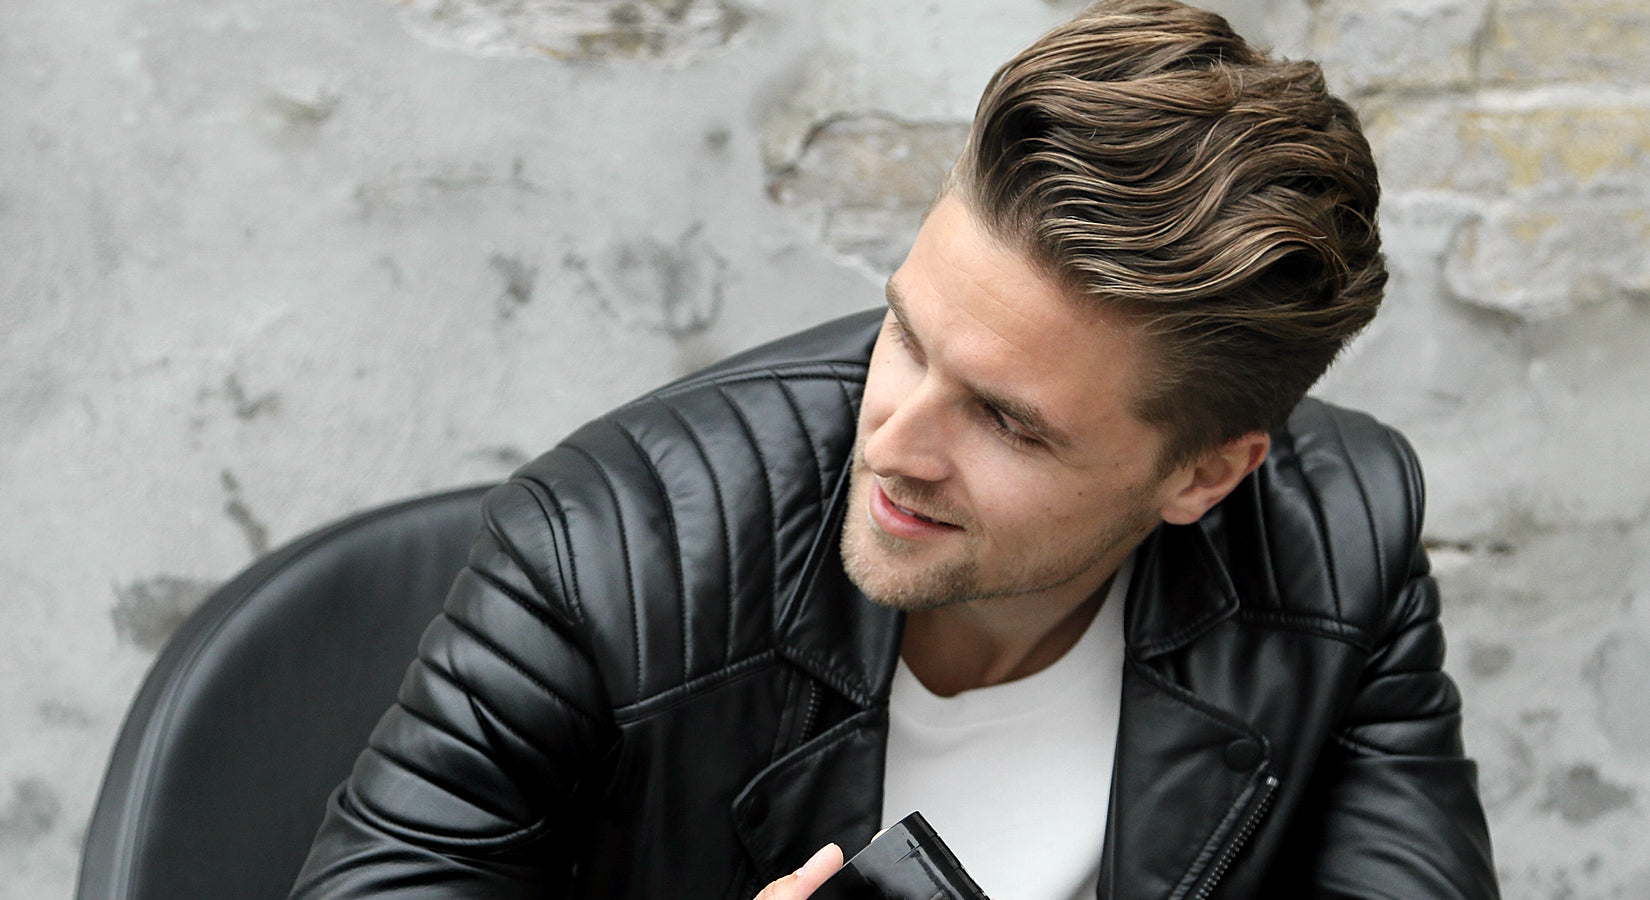
1. The Classic Pompadour
With roots going back to Elvis Presley, this look is about as close to a #TBT as it gets!
To rock this style, you’ve got to be prepared to put in the styling time. Hint: You may need to say goodbye to the snooze-button!
With great volume and a glossy finish, we love the pompadour. But all good things to those who work:
You need a decent head of well-loved hair and a scissor cut. The sides and back should be a little shorter than the top. On that note, the hair on your fringe should be longer than at your crown.
Best way to style this look? Get a smooth pomade: this will give you that slick finish for an iconic pomp.
2. The Modern Pompadour
Want to bring this style up to date? We’ve got you! Try a modern, disconnected Pompadour for a twist on the classic pomp.
You guessed it – it’s the contrast between the longer top and the short back and sides which make this look. The question is: do you cut the back and sides to the same length, or fade them? That’s up to you!
PRO TIP: This version can save you some time in the morning, as it requires minimal maintenance at the back and sides. Or no maintenance at all. *Snooze button has entered the chat*
3. The Short Pompadour
Looking for something a little easier?
This is where the short pompadour steps in! It’s a younger, quick-to-style take on the classic pomp look, just at the cost of a little volume.
Like the other styles, you’ll need a short back and sides for this, but keep the hair on top at no more than 4cm.
A classic pomp with a bit of a modern twist. This will save you both some time in the morning and a bit extra hair product. What’s not to like?
How To Style a Pompadour
Whether you’re going for a put-together, sleek pompadour, or if you’d rather have some more texture and a just-been-to-the-beach look – this is how you style the pompadour:
- STEP 1: The golden rule of hairstyling. Make sure you begin with just-washed and conditioned hair: free from extra oils, product and dirt.
- STEP 2: Give your hair 10-20 pumps of pre-styling spray, and grab that comb and a hairdryer. Blow dry your hair while combing from your fringe all the way back past the crown.
- STEP 3: When your hair is dry, put your products to work. A classic pomp needs a traditional pomade, but if you’re going for more texture, then try a gritty clay or even a mud wax (for a little more control). Rub a small amount between your palms to warm it up, then run your hands through your hair.
- STEP 4: After applying product to your hair, find that comb again. Start combing your hair back with one hand, while using the other hand to shape and smoothen the hair.
- STEP 5: This is the fun bit. Creating that pomp. You know all that hair that you were just combing back? Push it forward with your comb. KEY POINT - from here, use an up-and-back movement while combing the hair back again, so that the fringe curves back over the front and crown of your head.
- STEP 6: Happy with the shape? Give it a spritz of hairspray and then sit back and admire the mountain of hair in front of you.
Check out this video if you want to see how it's done a Slikhaar Studio:

Leave a comment
This site is protected by hCaptcha and the hCaptcha Privacy Policy and Terms of Service apply.